It has (much to my regret) been several years since I last published something on my blog. This article will hopefully be the first of many more to come in the near future as I find more time to return to writing. I’m writing this article both to act as a reference to others who may be interested in retrocomputing and to serve as a set of notes for myself the next time I need to get a Windows VM up and running in qemu.
No matter what I tried, getting Windows 98 to run in VirtualBox failed and Hyper-V only supports Windows XP and up. So qemu it is…
The instructions are nearly identical for other versions of Windows from the same era, but this article will focus on Windows 98 SE. This article assumes you have a valid copy of the installation disc. For convenience, you can easily create an ISO file from the disc using a tool like CDBurnerXP.
Getting Started
Your first stop is to grab the latest version of qemu. Binary installers for 32 and 64-bit editions of Windows are available on this page. Once installed, you will likely want to add the installation path of the qemu binaries to your PATH.
For the purpose of this article, we will create a new directory and put everything required by the virtual machine in there (note that an administrator command prompt is not required to run qemu):
mkdir win98-vm
cd win98-vm
The next step is to create the (empty) disk image that the virtual machine will use for storage. qemu comes with a utility for this purpose. We will use the qcow2 format for this image. One of the nice features we get is delayed allocation, meaning that only the portions of the virtual disk that are used take up physical space in the image. Compared to more modern versions of Windows, a meager 2 GB should be ample space for both the operating system and a handful of applications:
qemu-img create -f qcow2 win98se.qcow2 1G
We now have a hard drive and installation media. We are ready to begin installation.
Invoking qemu
I found it much easier to create a simple batch file to start the emulator since the invocation requires a lot of arguments. (If you want to see how flexible qemu is, take a look at the full list of arguments!)
I always start the file with:
@echo off
Next, we are going to invoke qemu-system-x86_64. And since we are passing a lot of arguments, I’m going to split them into several lines using the caret (^) character:
qemu-system-x86_64 ^
  -m 512M ^
  -hda win98se.qcow2 ^
  -cdrom win98se.iso ^
  -vga cirrus ^
  -audio driver=dsound,model=sb16 ^
  -net nic,model=pcnet ^
  -net user
There’s a lot going on here so I will break down each of these arguments:
-
-m 512M— allocate the maximum amount of RAM supported by Windows 98 for this virtual machine (there are tricks to use larger amounts of RAM but they are complicated and I find there is seldom need for anywhere near this much memory anyway) -
-hda win98se.qcow2— this passes our (empty) disk image to the virtual machine for it to use; Windows will format and use this as theC:drive -
-cdrom win98se.iso— this instructs qemu to expose a CD-ROM drive to the virtual machine with the provided image in the disc drive; in our case, this is the Windows installation disc -
-vga cirrus— this tells qemu the type of (generic) graphics adapter to emulate for the virtual machine; Cirrus gives us access to higher color bit-depths and resolutions -
-audio driver=dsound,model=sb16— this argument does two things: it presents a Sound Blaster 16 card to the virtual machine and uses DirectSound to play audio from the virtual machine on the host -
-net nic,model=pcnet— this attaches an AMD PCnet FAST III ethernet card to the virtual machine; qemu provides several different models but this is one of the few supported out of the box on Windows 98 -
-net user— this attaches the ethernet card to qemu’s virtual network, which provides Internet access to the virtual machine and a route to the host
Installing Windows 98 SE
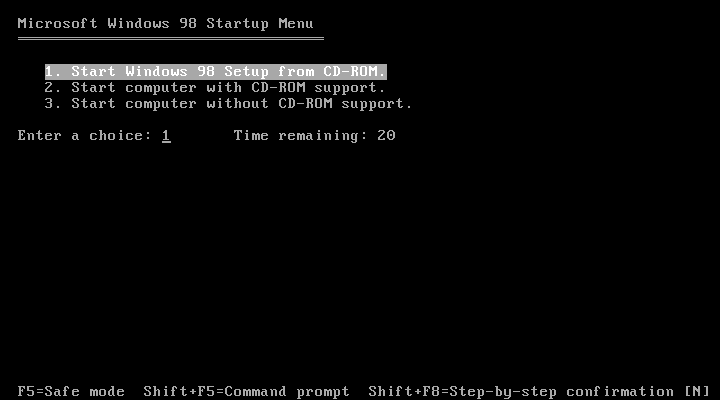
Once you’ve put the command above into a batch file, you can run it to start qemu and begin the Windows 98 installaction procedure. After the virtual machine POSTs, select “Boot from CD-ROM”:

Select “Start Windows 98 Setup from CD-ROM”:
After accepting all of the default options for formatting the disk in preparation for installation, you should eventually be greeted with the graphical installer:
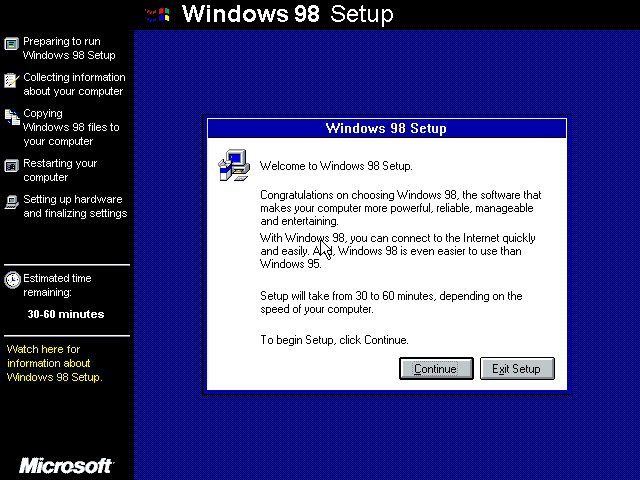
Stepping through the installer should be pretty straightforward and the default options should be sufficient to get the process going. Do note that because you are using an emulator, there is a lot of overhead. The process may take a long time (plan for up to an hour, depending on the speed of your host CPU).
Encountering Issues
After the first post-installation boot, I did encounter an issue trying to complete initial setup:
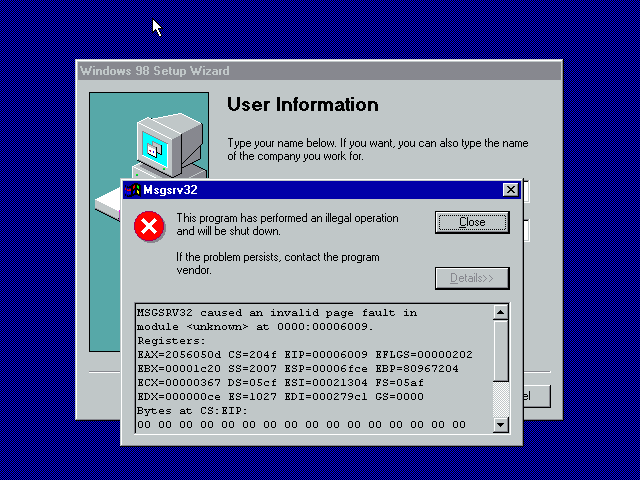
My “solution” was to simply restart the virtual machine at this point and try again. It seems like pressing Return instead of clicking “next” for each of the steps made a difference. I have no idea what’s going on under the hood and may investigate this further in another article.
This was (thankfully) the only issue I encountered.
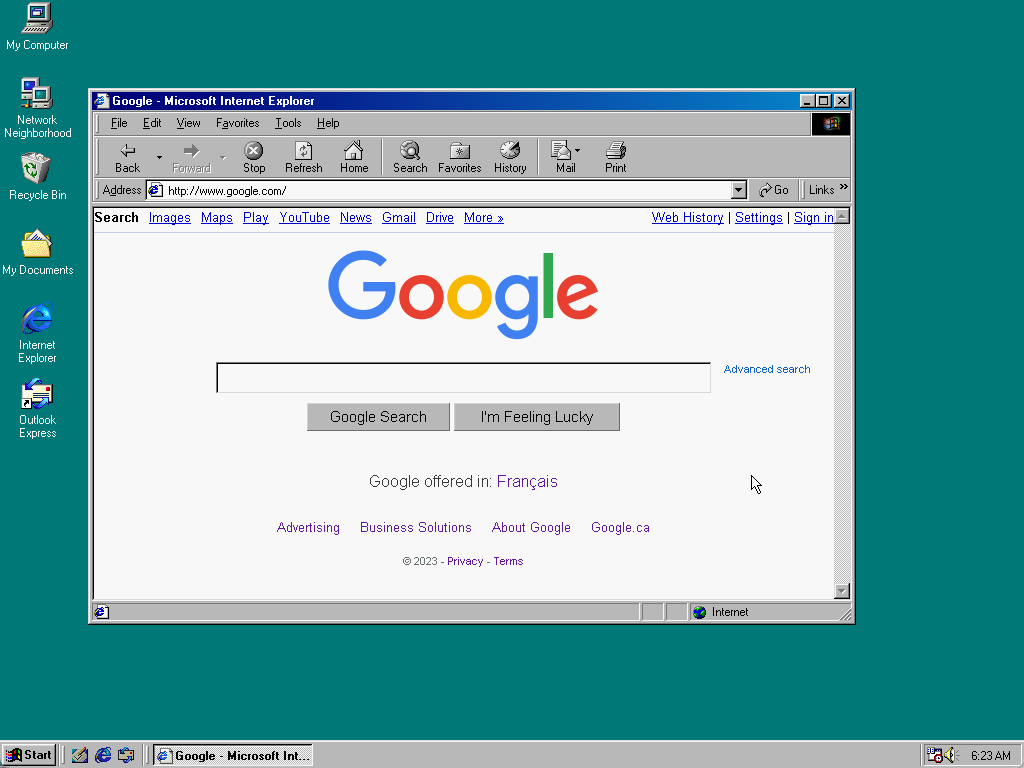
Finishing Up
Once you boot up for the first time, you’re going to want to immediately change the screen resolution to something useful like 1024x768 and 24-bit color. Here’s our trusty friend Internet Explorer 5.5 displaying the current Google homepage (yes, despite all odds, it still works):